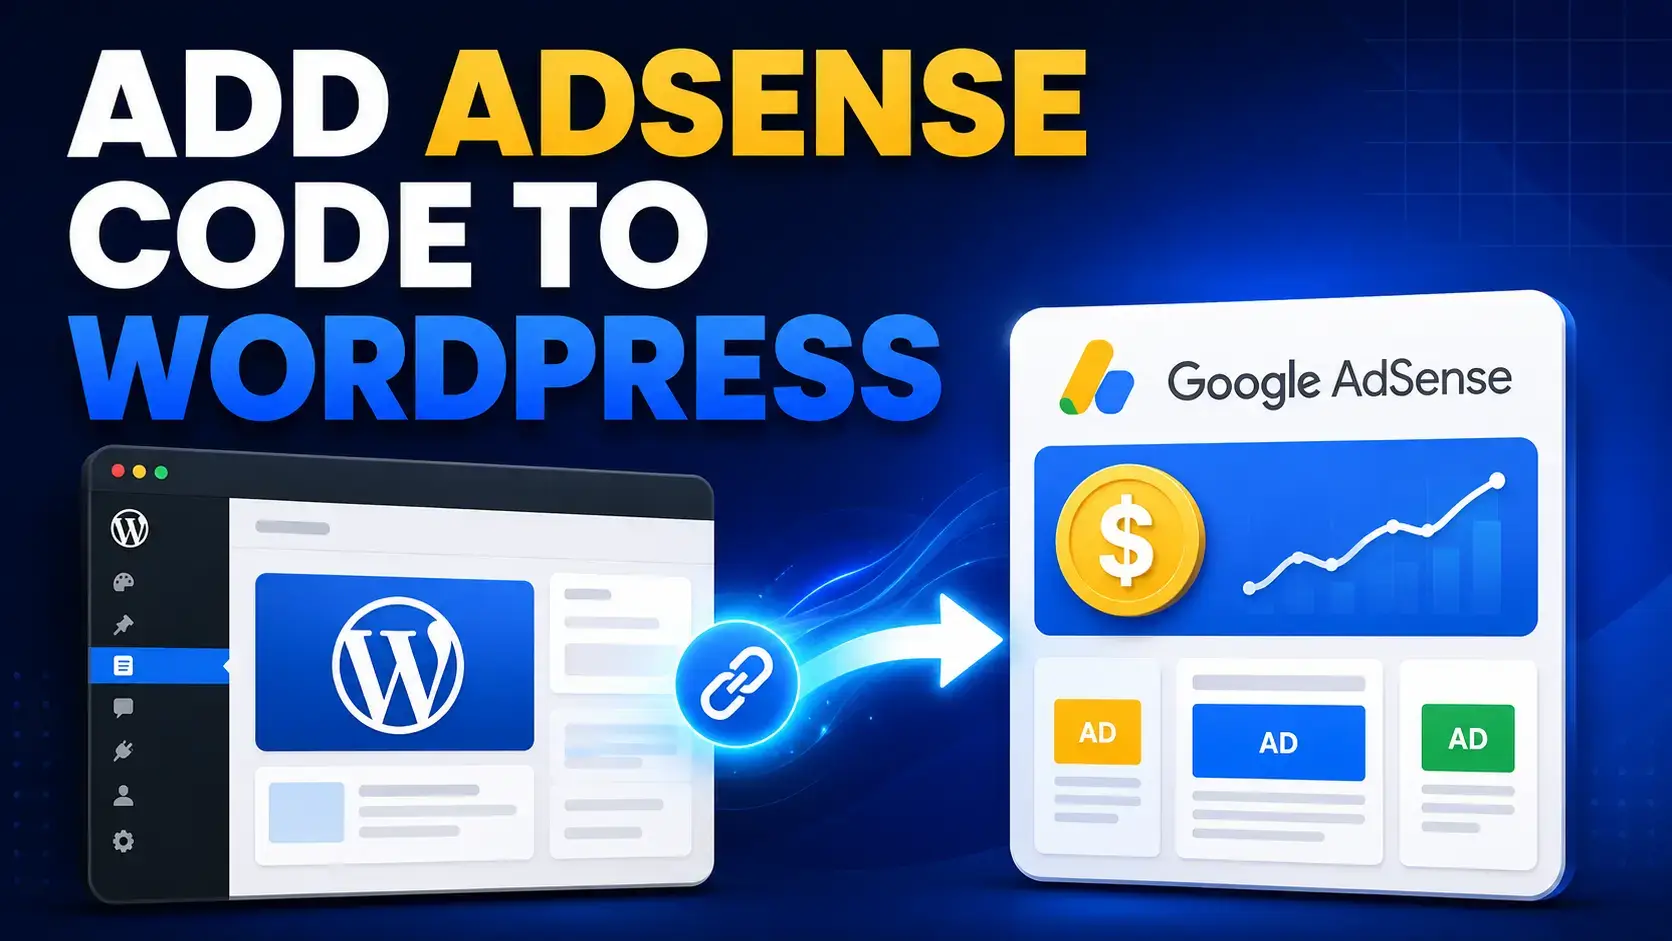

To connect WordPress to AdSense, you need to add your website to an AdSense account, prove that you control the site, place the correct Google code or verification method, and submit the site for review. WordPress gives you several ways to complete the connection, but the safest method for most beginners is Site Kit by Google because it can place the AdSense snippet without editing theme files. A manual setup can also work when you understand where the code belongs and how to prevent duplicate installations.
This guide explains the full WordPress-to-AdSense connection process from preparation to verification. You will learn how Site Kit works, how to add the code manually, how ads.txt fits into the setup, how to confirm that Google can detect your website, what each review status means, and why ads may still not appear immediately. The goal is a clean implementation that remains stable when WordPress, plugins, caching tools, consent systems, and themes change.
This article is part of the BlogerHub Google AdSense guides and the AdSense approval learning path. Before working on the technical connection, complete the AdSense site review checklist so that Google can evaluate a finished, accessible, policy-compliant website rather than an incomplete setup.
Quick Answer: How to Connect WordPress to AdSense
The recommended beginner process is to install Site Kit by Google, complete its initial WordPress setup, connect the AdSense service with the Google Account that manages your publisher account, allow Site Kit to place the AdSense code, and then request a site review. Google also supports manual verification through an AdSense code snippet, an ads.txt entry, or a meta tag. The code snippet and meta tag belong between the site’s <head> and </head> tags, while ads.txt belongs at the root URL such as example.com/ads.txt.
Do not install the same AdSense snippet through Site Kit, a header plugin, the theme, and a caching tool at the same time. Choose one primary code-placement method, verify it in the public page source, clear caches, and keep the site publicly accessible while Google reviews it.
WordPress AdSense Connection at a Glance
| Stage | Action | Where it happens | Expected result |
|---|---|---|---|
| Prepare the website | Finish content, navigation, trust pages, policies, and technical checks | WordPress | A review-ready public site |
| Add the site | Enter the correct root domain in the Sites section | AdSense | The website appears in your sites list |
| Choose a method | Use Site Kit, the AdSense snippet, ads.txt, or a meta tag | WordPress and AdSense | Google can verify site ownership |
| Verify placement | Check Site Health, page source, and ads.txt URL | WordPress and browser | The correct publisher identifier is visible |
| Request review | Confirm the connection and submit the site | AdSense | The site moves into review |
| Wait for the result | Monitor the Sites page and email | AdSense | Status becomes Ready or Needs attention |
| Configure ads | Use Auto ads or manual ad units after approval | AdSense and WordPress | Eligible ads can begin serving |
Before You Connect WordPress to AdSense
A correct code installation cannot compensate for a website that is inaccessible, unfinished, or unsuitable for monetization. Google reviews the submitted site, not only the presence of a script. Therefore, complete the publishing and technical foundation before requesting review.
Confirm that you control the real website
You must have enough control over the WordPress website to place code in its HTML output or use an accepted verification method. In practice, this normally means administrator access to the production WordPress installation, permission to install or configure a plugin, or access to the theme or hosting environment. Do not submit a temporary demo URL, a staging domain, another person’s website, or a page hosted on a domain you cannot manage.
Use the final canonical domain. For example, decide whether the website resolves to https://example.com/ or https://www.example.com/, and make sure WordPress, redirects, Search Console, and AdSense all point to the same public site.
Finish the content and trust setup
Before you connect WordPress to AdSense, publish original content that clearly serves a defined audience. Remove placeholder pages, demo imports, empty categories, copied posts, broken archives, and “coming soon” sections. The site should include usable navigation and accurate ownership information.
Review the website requirements for AdSense approval and prepare the important website pages for AdSense approval. A privacy policy is especially important because advertising and measurement technologies may use cookies or other identifiers. About, Contact, Terms, Disclaimer, author, and editorial pages can also improve transparency when they accurately describe the website.
Make the site publicly accessible
Google must be able to load the website without a password. Disable maintenance mode, private-site plugins, IP restrictions, development-only access rules, and temporary “coming soon” pages before review. Confirm that the homepage and important articles return normal successful responses and that HTTPS works without certificate warnings or redirect loops.
Security plugins, firewalls, bot protection, and hosting rules should not block Google’s AdSense crawler. Aggressive protection can sometimes challenge or deny automated requests. Keep security enabled, but review logs and allow legitimate Google access when the site cannot be reached.
Back up WordPress before changing code
Create a recent database and file backup before editing theme files, installing a new integration plugin, or changing header scripts. A backup is especially important if you plan to modify header.php, a child theme, a snippets plugin, or server-level caching. A connection task should never put the whole website at risk.
Choose the Best WordPress AdSense Connection Method
There is no requirement that every WordPress publisher use the same technical method. The right choice depends on your skill level, current plugins, theme, hosting access, and whether the site already contains an AdSense snippet. However, one rule applies to every approach: avoid duplicate code.
| Method | Best for | Advantages | Main risk |
|---|---|---|---|
| Site Kit by Google | Most beginners and standard WordPress sites | Official Google plugin, automatic snippet placement, status information | Using a different Google Account or duplicating existing code |
| Manual header placement | Developers and controlled custom themes | No extra integration plugin required | Theme updates, syntax errors, or code placed in the wrong location |
| Header/footer code plugin | Users who want manual control without editing theme files | Usually survives theme updates | Third-party plugin quality and duplicate snippets |
| Theme or ad-management integration | Themes with reliable built-in ad settings | Convenient centralized controls | Theme lock-in, unclear placement, or unsupported formats |
| Meta tag or ads.txt verification | Ownership verification when full ad code is not yet preferred | Alternative verification options | Verification alone does not always configure actual ad serving |
Method 1: Connect WordPress to AdSense with Site Kit
Google recommends Site Kit for WordPress publishers who want a guided connection. Site Kit is a free, open-source WordPress plugin that can connect WordPress with AdSense and other Google services. It can place the AdSense snippet across the website and display selected performance information inside the WordPress dashboard.
Check Site Kit requirements
Before installing Site Kit, confirm that the website is a public production site rather than a blocked staging environment. WordPress and PHP should meet the plugin’s current minimum requirements, the WordPress REST API should work, and your browser should be modern. You can review REST API and general health information under Tools → Site Health.
Install and activate Site Kit by Google
- Sign in to the WordPress administration area.
- Open Plugins → Add New Plugin.
- Search for Site Kit by Google.
- Confirm that the plugin is the official Google plugin.
- Click Install Now, then click Activate.
- Open Site Kit → Dashboard to begin setup.
Avoid installing look-alike plugins from unknown publishers. Site Kit requests access to the Google services you choose, so verify the plugin identity and keep it updated through the normal WordPress update system.
Complete the initial Site Kit setup
Site Kit first connects the WordPress site to a Google Account and normally verifies the website through Search Console. Sign in with the Google Account you intend to use for Google services on this WordPress administrator account. Review the requested permissions rather than clicking through them without reading.
You may be offered optional Analytics setup during the initial flow. Analytics is useful, but it is not the same as AdSense and is not required merely to place the AdSense code. Keep the services conceptually separate so you understand which account, property, and permissions belong to each product.
Connect the AdSense service in Site Kit
- In WordPress, go to Site Kit → Settings.
- Open Connect More Services.
- Find AdSense and select Set up AdSense.
- Sign in with the Google Account associated with the correct AdSense account.
- Grant the requested permissions after checking the selected account.
- Follow the prompts to add the site or continue the AdSense setup.
- Allow Site Kit to place the AdSense code when you want Site Kit to manage the snippet.
An AdSense account and an AdSense site are not the same thing. The account contains publisher-level information and can manage multiple websites, while each website must be added and reviewed separately. Site Kit may show prompts to create an account, add the current site, request review, or wait for approval depending on the current status.
Use the same Google Account throughout setup
A frequent connection problem occurs when Search Console or Site Kit uses one Google Account while AdSense belongs to another. Site Kit associates a WordPress user with one connected Google Account at a time. If the AdSense account belongs to a different Google Account, disconnect carefully and reconnect with the account that can access the required services.
Do not create a second AdSense account just because the expected account is not visible. First confirm which Google Account owns the existing publisher account, whether you have the correct permissions, and whether the site has already been added elsewhere.
Decide whether Site Kit should place the code
When Site Kit detects existing AdSense code, it may ask whether it should place another snippet. Choose one source of truth. If Site Kit will manage the code, remove the older manual or plugin-based snippet after confirming that Site Kit is ready to output the correct one. If another system will continue managing the code, leave Site Kit’s placement option disabled and verify the existing implementation separately.
Allowing Site Kit and another plugin to output AdSense code can create duplicate scripts. Duplicate code does not double earnings. Instead, it makes troubleshooting harder and may cause warnings, conflicting settings, or unexpected ad behavior.
Verify the Site Kit AdSense snippet
After setup, check whether Site Kit reports that it has placed the AdSense snippet. In WordPress, open Tools → Site Health → Info, expand the Site Kit by Google section, and look for the AdSense snippet placement field. A positive result means Site Kit is configured to output the snippet, although it does not prove that the site has already passed review or that ads must appear immediately.
You can also open a public page while logged out, view the page source, and search for pagead2.googlesyndication.com/pagead/js/adsbygoogle.js or your own ca-pub- publisher identifier. Check the rendered source seen by normal visitors, not only the WordPress editor.
Method 2: Manually Add the AdSense Code to WordPress
A manual connection can work well for developers or publishers with a controlled theme and deployment process. Google’s general instruction is to place the AdSense code between the opening and closing <head> tags. The snippet should normally appear across the site rather than only inside one article.
Copy the correct AdSense code
- Sign in to the correct AdSense account.
- Open the site connection or code section shown for your website.
- Copy the complete code exactly as Google provides it.
- Confirm that the publisher ID belongs to your account.
- Do not copy a sample publisher ID from a tutorial.
A typical snippet loads the AdSense JavaScript asynchronously and contains a publisher identifier beginning with ca-pub-. Your actual numbers are account-specific. Keep the script intact unless current Google instructions explicitly tell you to change something.
Understand the correct HTML location
The site-level AdSense snippet belongs inside the page head. A simplified example looks like this, but you must use the exact code from your own account:
<head>
<script async src="https://pagead2.googlesyndication.com/pagead/js/adsbygoogle.js?client=ca-pub-YOUR_ID" crossorigin="anonymous"></script>
</head>
This site-level code is different from a manual ad-unit block. Ad-unit code normally belongs in the page body where you want the individual unit to render. Mixing these concepts can lead to a script in the wrong location or an empty ad container.
Prefer a child theme or code-management method
Directly editing a parent theme’s header.php file is fragile because a theme update can overwrite the change. A child theme, a deployment-managed custom theme, or a reputable header-code plugin is usually safer. Full Site Editing themes may also handle templates differently from classic themes, so do not assume every WordPress installation has the same file structure.
After adding the code, clear page cache, object cache, CDN cache, and optimization cache. Then inspect a logged-out page source. If the snippet does not appear, verify that the code tool outputs scripts in the head and that security or optimization settings have not removed it.
Avoid editing theme files from the dashboard when uncertain
The WordPress Theme File Editor can introduce a fatal error when PHP or markup is changed incorrectly. It can also make the modification difficult to track. If you do not manage code confidently, use Site Kit or ask a qualified developer to implement the snippet through a maintainable method.
Method 3: Use a Header Plugin, Theme, or Ad Plugin
Some publishers prefer a header/footer script plugin, an ad-management plugin, or a theme setting. These methods can be suitable when they output the unmodified AdSense snippet in the correct location and remain compatible with the theme, caching stack, and consent configuration.
What to check before choosing a third-party plugin
- The plugin comes from a reputable developer and receives security updates.
- It supports your current WordPress and PHP versions.
- It clearly distinguishes site-wide AdSense code from individual ad-unit code.
- It does not inject unrelated advertising, tracking, or paid-service dependencies.
- You can disable or remove the snippet without losing content.
- It does not duplicate code already placed by Site Kit or the theme.
- Its placement controls work with your caching, mobile, and consent setup.
Google does not control third-party WordPress plugins. When a plugin fails, contact its developer and verify the public HTML output yourself. A plugin dashboard message is not enough if the code never reaches the visitor’s page source.
Theme-based ad settings
Some themes provide a dedicated AdSense or header-script field. This can be convenient, but it creates dependency on that theme. Document the location of the code so that a future redesign does not silently remove it. After switching themes, check the source again before assuming the connection remains active.
Add the WordPress Site in Google AdSense
Installing code alone does not automatically add a new website to your AdSense sites list. The exact interface can change, but the general process is to sign in, open the Sites area, select the option to add a site, and enter the website URL. Use the domain you own and operate.
- Open the AdSense account that will manage the website.
- Go to the Sites section or the site setup card.
- Choose Add site or the equivalent option.
- Enter the correct root domain without an article path.
- Save the site and open its connection instructions.
- Select the verification method that matches your WordPress implementation.
Blogger, YouTube, and other host-partner products can use different onboarding paths. This guide focuses on a self-hosted WordPress website where you control the domain and WordPress installation.
Verification Options for a WordPress Website
Google may offer more than one method to verify that you control a site. The available options can include the AdSense code snippet, an ads.txt code entry, and a meta tag. Search Console ownership may also help in some situations. Follow the options shown in your own AdSense account because account-specific instructions take priority over a static tutorial.
AdSense code snippet verification
This method uses the site-level script placed in the head. It is a practical choice when you also want Site Kit or the script to prepare the site for Auto ads. Confirm that the code contains your publisher ID and is visible on a regularly viewed public page.
Meta tag verification
A meta tag can verify ownership without loading the full AdSense script on the homepage. The tag also belongs between the head tags. It generally follows a pattern similar to the example below, but copy the exact value from your account:
<meta name="google-adsense-account" content="ca-pub-YOUR_ID">A verification meta tag is not a manual display ad. Do not expect an ad to appear simply because this tag exists. After approval, configure the actual ad-serving method separately.
Ads.txt verification and authorization
Ads.txt is a plain-text file at the root of the domain that identifies companies authorized to sell the site’s digital advertising inventory. Google may provide an entry similar to the following:
google.com, pub-YOUR_PUBLISHER_ID, DIRECT, f08c47fec0942fa0Replace the placeholder only with the exact publisher ID shown in your account. Do not include ca- if Google’s supplied ads.txt line uses the pub- format. If an ads.txt file already exists, add the new line without deleting valid entries from other authorized advertising partners.
How to create ads.txt in WordPress
WordPress does not always provide a native ads.txt editor. You can use a reliable ads.txt feature in an existing ad plugin, install a focused plugin, or upload a physical ads.txt file to the domain root through the hosting file manager or SFTP. The public result must load at a URL such as https://example.com/ads.txt.
Open that URL in a private browser window and confirm that it shows plain text rather than a styled WordPress page, redirect loop, login form, HTML error, or soft 404. Google may need time to crawl a new or updated file, so a warning may not disappear immediately.
Request the AdSense Site Review
After Google can detect the connection and you have completed the required account tasks, return to AdSense and request a review. The exact button labels may vary, but the process normally asks you to confirm that the site is connected before submitting it.
Use the step-by-step AdSense application guide for the complete account and application workflow. Connecting WordPress is the technical part; account details, payments information, eligibility, and policy review remain separate parts of activation.
What Google reviews
Google reviews the site as a whole. A detected script does not guarantee approval. Reviewers and automated systems may assess whether the website is accessible, whether it contains sufficient unique value, whether users can navigate it, and whether it follows applicable publisher policies. Continue improving the site while waiting, but avoid repeatedly changing or removing the connection code.
How long the review may take
Google says review often takes a few days, although some reviews can take two to four weeks. A longer wait does not automatically mean rejection. However, verify the code and site accessibility when the review appears stalled, especially if the snippet is only present on an obscure page or is removed for logged-out visitors.
Understand AdSense Site Statuses
| Status | Meaning | Recommended action |
|---|---|---|
| Requires review | The site is added but review has not started | Finish required tasks, confirm connection, and request review |
| Getting ready | Google is checking the site or waiting for account setup tasks | Keep the site live, monitor tasks, and avoid duplicate submissions |
| Needs attention | Google found an issue that must be addressed | Read the reason, fix the site or connection, then request another review |
| Ready | The site passed review and is eligible to serve AdSense ads | Configure Auto ads or ad units and monitor the live site |
| Inactive | The site has not shown ads for an extended period and may require action | Restore valid code and follow the review instructions shown in AdSense |
For a detailed explanation of each stage, continue to the AdSense application status guide. Always rely on the message inside your account because the interface and available actions can change.
Verify That WordPress Is Really Connected
A green plugin notice can be useful, but final verification should include the public website. Perform the checks below while logged out because some tools intentionally suppress ads or scripts for administrators.
Check the page source
- Open the homepage in a private or incognito browser window.
- Use the browser command to view the page source.
- Search for
adsbygoogle.js,google-adsense-account, or your publisher ID. - Confirm that the ID belongs to the correct AdSense account.
- Repeat the check on an article and another important template.
- Check that the same site-level script is not repeated unnecessarily.
Developer Tools shows the live document after scripts and browser extensions may have changed it, while View Source shows the HTML response. Both views can help, but View Source is often the clearest first check for server-rendered placement.
Check Site Health and Site Kit settings
When using Site Kit, review Site Kit → Settings → Connected Services → AdSense and the Site Kit section under Tools → Site Health → Info. Confirm the connected Google Account, account status, site status, and whether Site Kit is configured to place the code.
Check ads.txt directly
Visit the root ads.txt URL and search for your publisher ID. Make sure the file is crawlable and does not require cookies, JavaScript, authentication, or a special browser. If the root domain redirects between www and non-www, verify that the final ads.txt location remains accessible.
Test multiple visitor states
Caching, consent, membership, and optimization plugins can produce different HTML for administrators, logged-in users, logged-out visitors, regions, and devices. Test as a normal visitor. Site Kit may exclude logged-in users from ads by default, so the absence of ads while you are signed in may be expected rather than a connection failure.
After Approval: Auto Ads or Manual Ad Units?
Once the site status becomes Ready, you can choose how ads appear. Google offers Auto ads and manual ad units. Approval and code placement do not require you to use every available format.
Auto ads
Auto ads let Google evaluate eligible locations and formats across the site. They are convenient for beginners and work with the site-level AdSense code. Review the preview, ad load, excluded areas, page exclusions, overlay formats, and user experience before applying settings to the live site.
Manual ad units
Manual units give you more direct control over placement. Create the unit in AdSense, copy its code, and place it in an appropriate WordPress block, widget, template, hook, or ad-management plugin. Ad-unit code generally belongs in the body where the ad should appear, not in the document head.
Do not chase clicks
Never click your own ads, ask readers to click, disguise ads as navigation, or place units where accidental interaction is likely. Optimize for useful content, readable layouts, legitimate traffic, viewability, and policy compliance rather than forcing CTR upward.
Common WordPress AdSense Connection Problems
The AdSense code is missing
The code may be saved in the wrong plugin field, placed in a footer-only area, removed by a theme change, hidden by conditional logic, or excluded from public pages. Check the logged-out source. If the script is not present, return to the tool responsible for placing it and verify its settings.
The code appears more than once
Search the source for your publisher ID and script URL. Duplicate code commonly comes from Site Kit plus a header plugin, a theme option plus an ad plugin, or a manual theme edit left behind after installing Site Kit. Choose one placement method and remove the other copies carefully.
The wrong publisher ID appears
A previous developer, theme demo, migration, or old plugin configuration may contain another publisher ID. Remove unknown AdSense code and connect only the account authorized to monetize the site. Do not request review while conflicting publisher identifiers remain unexplained.
Site Kit cannot complete setup
Check WordPress Site Health, REST API access, public accessibility, permalink behavior, security plugins, hosting firewalls, and the connected Google Account. Clear browser cookies or test another browser if authentication loops. Avoid resetting Site Kit immediately unless you understand what services and permissions will be disconnected.
The site is unreachable
Confirm the exact URL, DNS, HTTPS certificate, redirect chain, robots rules, firewall behavior, and maintenance status. Google cannot approve a site that requires a password or intermittently returns server errors. Check the website from another network and review hosting logs.
Caching delays the code update
A page cache or CDN may keep serving an older version after you add or remove the snippet. Purge every cache layer and reload in a private window. Some optimization plugins delay JavaScript until user interaction; exclude the AdSense script from aggressive delay or modification only when current plugin and Google guidance supports that configuration.
A consent platform blocks the script
Privacy and consent systems may delay advertising code until the visitor makes a choice. That may be intentional for compliance, but a broken configuration can prevent verification or ad delivery. Test the consent flow, region settings, script categories, and Google integration. Do not disable legally required consent simply to make ads appear.
The site is Ready but ads are not visible
A Ready status means the site passed review; it does not guarantee an ad on every page view. Check whether Auto ads is enabled or manual units exist, whether the viewer is logged in, whether an ad blocker is active, whether consent permits ad loading, whether demand is available, and whether the page or format is excluded. New settings may also need time to propagate.
Ads.txt warning remains after setup
Open the public ads.txt file and verify the exact line. Confirm that the publisher ID is correct, the root domain can reach the file, and a security service is not blocking crawlers. Google may take several days to recrawl the file, so do not repeatedly delete and recreate a correct implementation.
WordPress Changes That Can Break the Connection Later
- Changing the active theme after the code was stored in theme settings or files.
- Deleting or disabling the plugin responsible for the snippet.
- Moving from a staging domain to the production domain without reconnecting services.
- Changing www, HTTPS, or canonical-domain behavior incorrectly.
- Restoring an old backup that predates the AdSense setup.
- Adding another ad plugin that inserts duplicate site-level code.
- Enabling script delay, minification, or consent rules that alter the AdSense script.
- Migrating hosting and losing the physical ads.txt file.
- Blocking Google crawlers through a firewall or robots configuration.
- Using a new Google Account in Site Kit without checking service ownership.
Document the implementation method, connected Google Account, plugin name, publisher ID location, ads.txt method, and date of setup. This small record makes future migrations and troubleshooting much easier.
Security and Privacy Best Practices
Limit administrator access
Only trusted people should have WordPress administrator access or permission to change monetization code. Use unique accounts, strong passwords, appropriate roles, multifactor authentication where available, backups, and an update process. A compromised administrator account can replace ad code, modify payment-related links, or damage the entire site.
Keep consent and disclosures accurate
Your privacy policy and consent implementation should reflect the actual advertising, analytics, embedded content, and data-processing tools on the site. Regional requirements can differ. Use qualified legal guidance when needed and review Google’s current consent requirements rather than relying on an old plugin tutorial.
Do not share sensitive account information
A public publisher ID can appear in website code and ads.txt, but passwords, recovery codes, payment details, identity documents, and private account screenshots should not be shared. Be cautious with freelancers who request full Google Account access when narrower permissions or supervised implementation would be sufficient.
Complete Checklist to Connect WordPress to AdSense
- Confirm that you control the production WordPress website and final domain.
- Back up WordPress files and the database.
- Finish original content, navigation, trust pages, and policy checks.
- Remove maintenance mode, password protection, placeholders, and broken pages.
- Sign in to the correct AdSense account.
- Add the correct root domain to the AdSense Sites section.
- Choose Site Kit, manual code, a meta tag, or ads.txt as instructed.
- For most beginners, install and configure Site Kit by Google.
- Connect Site Kit using the Google Account that owns or can access AdSense.
- Choose whether Site Kit or another system will place the AdSense script.
- Remove duplicate or unknown AdSense snippets.
- Confirm that the correct publisher ID appears in the logged-out page source.
- Create or update ads.txt when instructed and test the public root URL.
- Clear WordPress, plugin, server, and CDN caches.
- Test the website on desktop and mobile as a logged-out visitor.
- Confirm that security, robots, consent, and optimization tools do not break access.
- Complete payment and other account setup tasks shown in AdSense.
- Request the site review.
- Monitor the Sites page for Getting ready, Needs attention, or Ready status.
- After approval, configure Auto ads or manual ad units responsibly.
- Recheck the connection after theme changes, migrations, restores, or plugin changes.
Frequently Asked Questions
What is the easiest way to connect WordPress to AdSense?
For most beginners, Site Kit by Google is the easiest method because it guides account connection and can place the AdSense snippet across the WordPress site. It also provides status information inside WordPress. However, the site still needs to satisfy AdSense review requirements.
Can I connect WordPress to AdSense without a plugin?
Yes. You can manually place the site-level AdSense code or verification meta tag between the head tags, and you can upload ads.txt through hosting access. Manual implementation is best when you understand WordPress themes, updates, caching, and source-code verification.
Where should I paste the AdSense code in WordPress?
The site-level AdSense snippet belongs between the opening and closing head tags and should normally appear across the website. A manual ad-unit block belongs in the page body where the individual ad should render. Do not paste a site-level script randomly into one post and assume the whole domain is connected.
Should I use Site Kit and another ad plugin together?
They can coexist for different purposes, but only one system should normally place the same site-level AdSense snippet. An ad plugin may manage manual unit positions while Site Kit places the main snippet, provided the setup does not duplicate code. Verify the public source after every change.
Does installing Site Kit guarantee AdSense approval?
No. Site Kit helps with connection and code placement. Google still reviews the website’s content, usability, accessibility, ownership, and policy compliance. A technically connected site can still receive a Needs attention result.
Do I need ads.txt before AdSense approval?
Follow the tasks shown in your AdSense account. Google may offer ads.txt as a verification method or recommend it to authorize inventory. A correct ads.txt file is valuable, but it does not replace content quality, policy compliance, account setup, or the site review.
How do I know whether the AdSense code is active?
Check the logged-out page source for the AdSense script, meta tag, or publisher ID. Site Kit users can also check Site Kit settings and the Site Kit section in WordPress Site Health. Code presence confirms implementation, not approval or guaranteed ad delivery.
Why can I not see ads while logged in to WordPress?
Some integrations, including Site Kit configurations, can exclude logged-in users from ads. This reduces accidental self-interaction and keeps the editing experience cleaner. Test the public page in a private window while remaining careful never to click your own ads.
How long after connecting will ads appear?
The site must first pass review and receive a Ready status. Google says review often takes a few days but may take two to four weeks in some cases. After approval, ads also depend on your Auto ads or ad-unit setup, consent, exclusions, visitor state, and available demand.
Can a cache plugin prevent AdSense verification?
A cache plugin can serve an older page that does not contain the new snippet, while optimization settings can delay or modify scripts. Purge all caches, inspect the public source, and review script-optimization settings. Do not disable performance tools permanently without identifying the exact conflict.
What should I do if AdSense says the site is not ready?
Read the specific message in AdSense. Check for missing or incomplete code, an unreachable site, insufficient original value, poor navigation or user experience, and policy violations. Make meaningful changes before requesting another review instead of repeatedly submitting an unchanged website.
Conclusion
To connect WordPress to AdSense successfully, treat the process as both a technical integration and a website-quality review. Add the correct site, use one reliable code-placement method, verify the public output, configure ads.txt when required, complete account tasks, and request review only when the website is ready.
Site Kit by Google is the practical choice for most WordPress beginners, while manual code remains suitable for controlled development environments. Whichever method you choose, prevent duplicate snippets, protect the connected accounts, keep the site publicly accessible, and test again after updates or migrations. After submitting the connection, use the AdSense application status guide to understand the next message from Google.
Related AdSense Guides
- Google AdSense Guides — Follow the full BlogerHub AdSense learning path.
- AdSense Approval Guide — Review the complete approval pillar.
- AdSense Application Process — Navigate account creation, connection, review, and status topics.
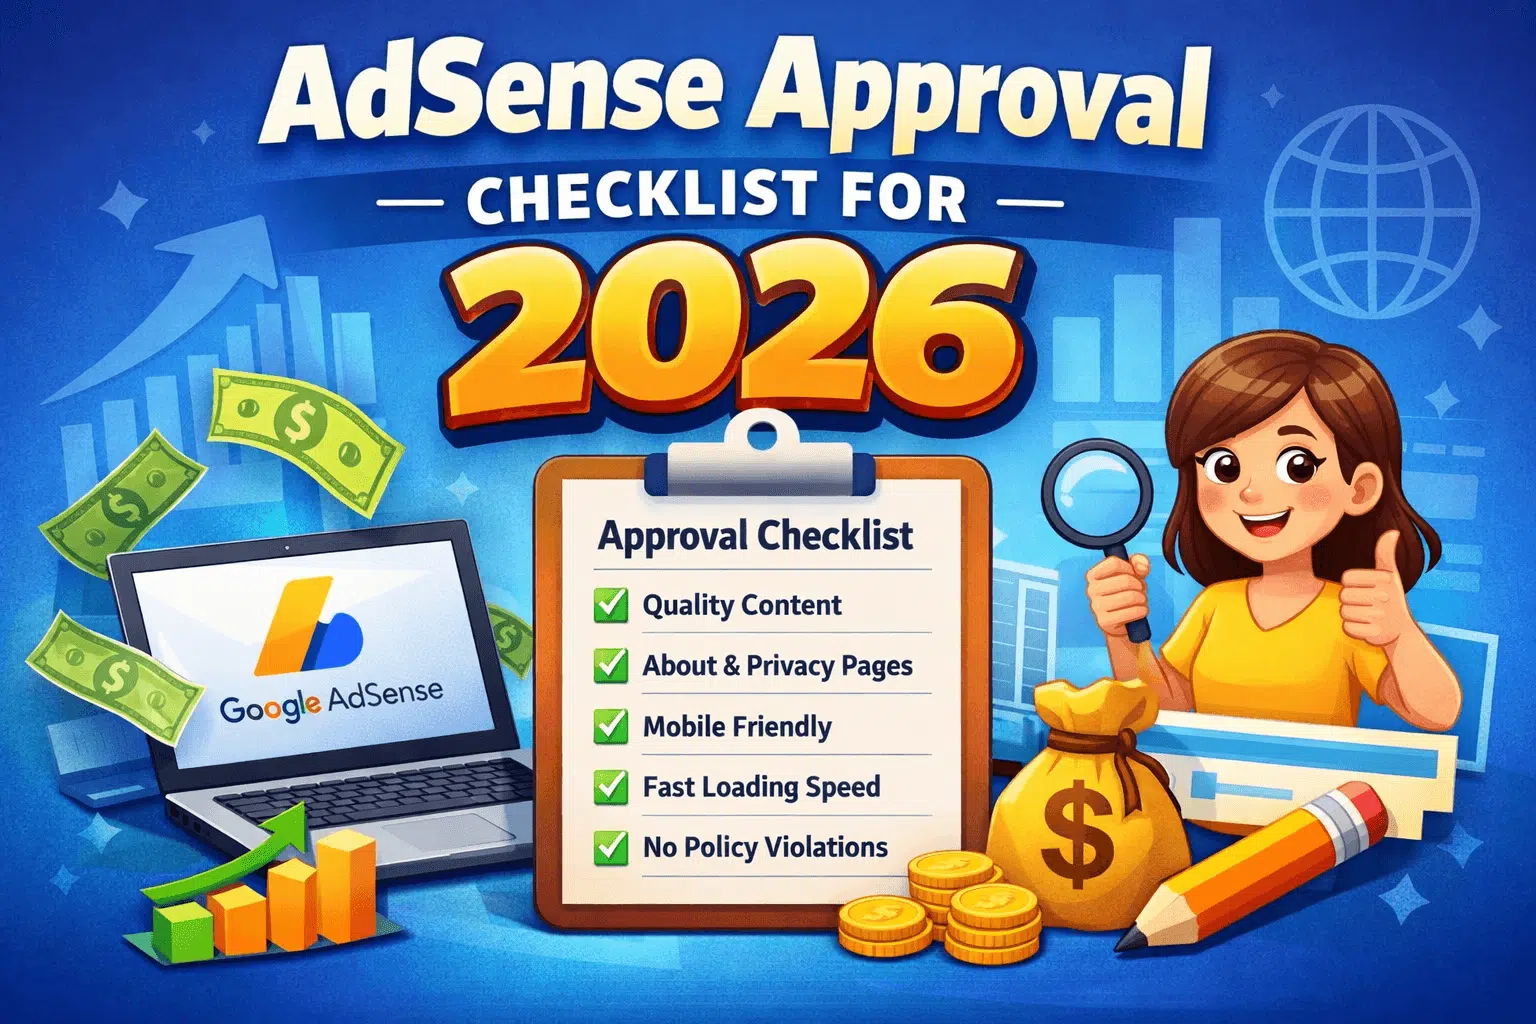
- AdSense Site Review Checklist — Audit the website before connecting and applying.
- How to Apply for Google AdSense — Complete the full application workflow.
- AdSense Application Status Explained — Understand review messages and next actions.
Official Sources
- Google AdSense Help: Connect your site to AdSense
- Google AdSense Help: Connect to AdSense and show ads on WordPress
- Google AdSense Help: Where to place AdSense code in HTML
- Google AdSense Help: Where to place ad unit code
- Google AdSense Help: Add a new site
- Google AdSense Help: Ads.txt FAQs
- Google AdSense Help: Site not ready to show ads
- Site Kit by Google: Installing and setting up Site Kit
- Site Kit by Google: AdSense setup and settings
Last reviewed: July 30, 2026. WordPress interfaces, Site Kit requirements, AdSense verification methods, consent rules, and account workflows can change. Follow the instructions shown in your own WordPress and AdSense accounts and verify important decisions against the current official Google documentation.